 Stayntouch PMS
 Workstation Configuration (Windows)
Prior to creating your workstation in Stayntouch PMS and Stayntouch Guest Kiosk, you must first connect it with your computer. To do so, you will need to load the Rover Service File for Windows, which you will find attached at the bottom of this article. Once this is complete, you will be able to create the workstation by logging into Stayntouch PMS as an admin user. At this point, a popup will appear, and you will be prompted to ADD A NEW WORKSTATION (see screenshot below).
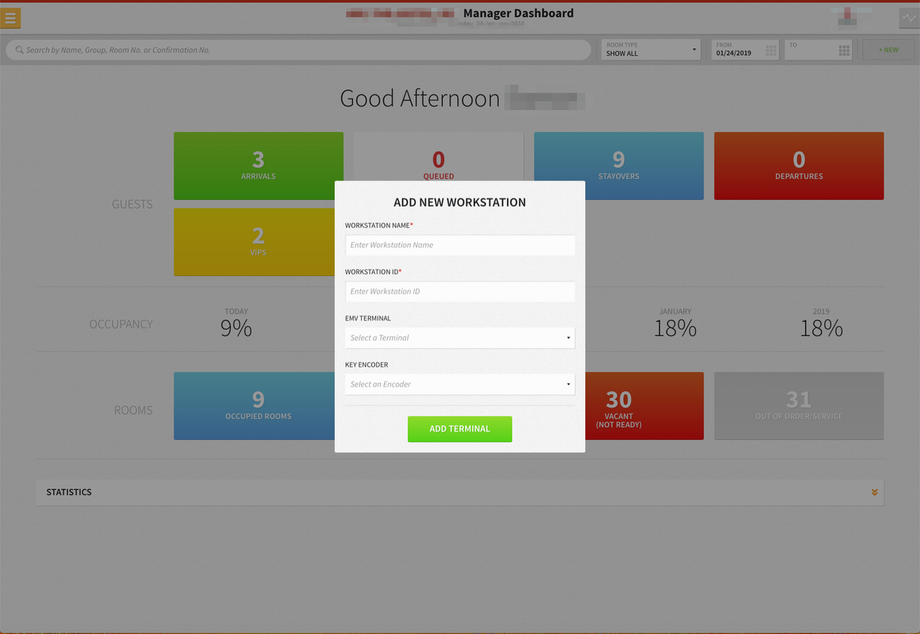
To do so, first enter the WORKSTATION NAME and WORKSTATION ID.
- The WORKSTATION NAME should be a description recognizable to you. For example, you could name your kiosks, "Station 1", "Station 2", etc.
- The WORKSTATION ID is a numeric value that represents the workstation in our system. This value must be unique, but you can follow any numbering scheme you like.
Upon entering this information, select ADD TERMINAL to add your workstation.
After completing the above steps, the first pre-requisite to setting up your new Stayntouch Guest Kiosk is to configure workstations in Stayntouch PMS. This setting is accessed via Settings > Integrations > Utilities > Workstations.


From the Workstations screen, you can add or delete workstations. Click on an existing workstation to edit its details or click +ADD NEW at the top.

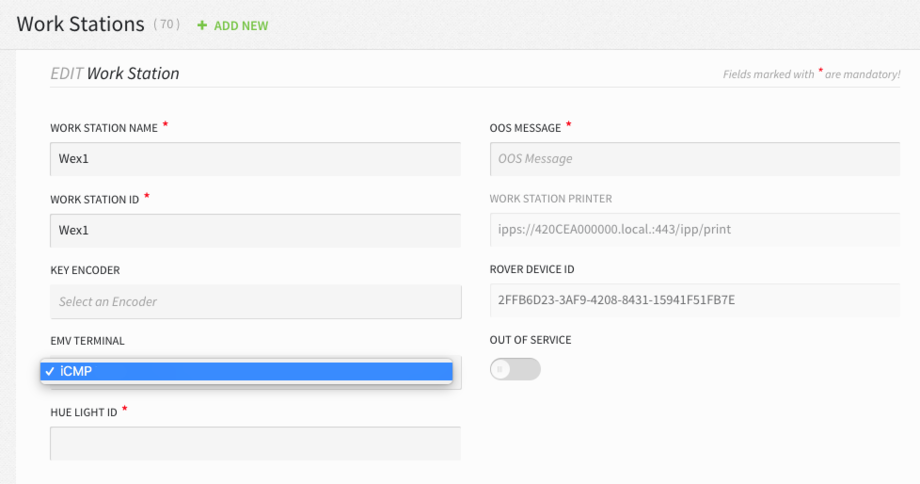
From here, save your changes and visit the additional articles in the Workstation series to learn about the additional workstation fields. If you have further questions, please contact Customer Support.