 Stayntouch PMS
 Room Diary
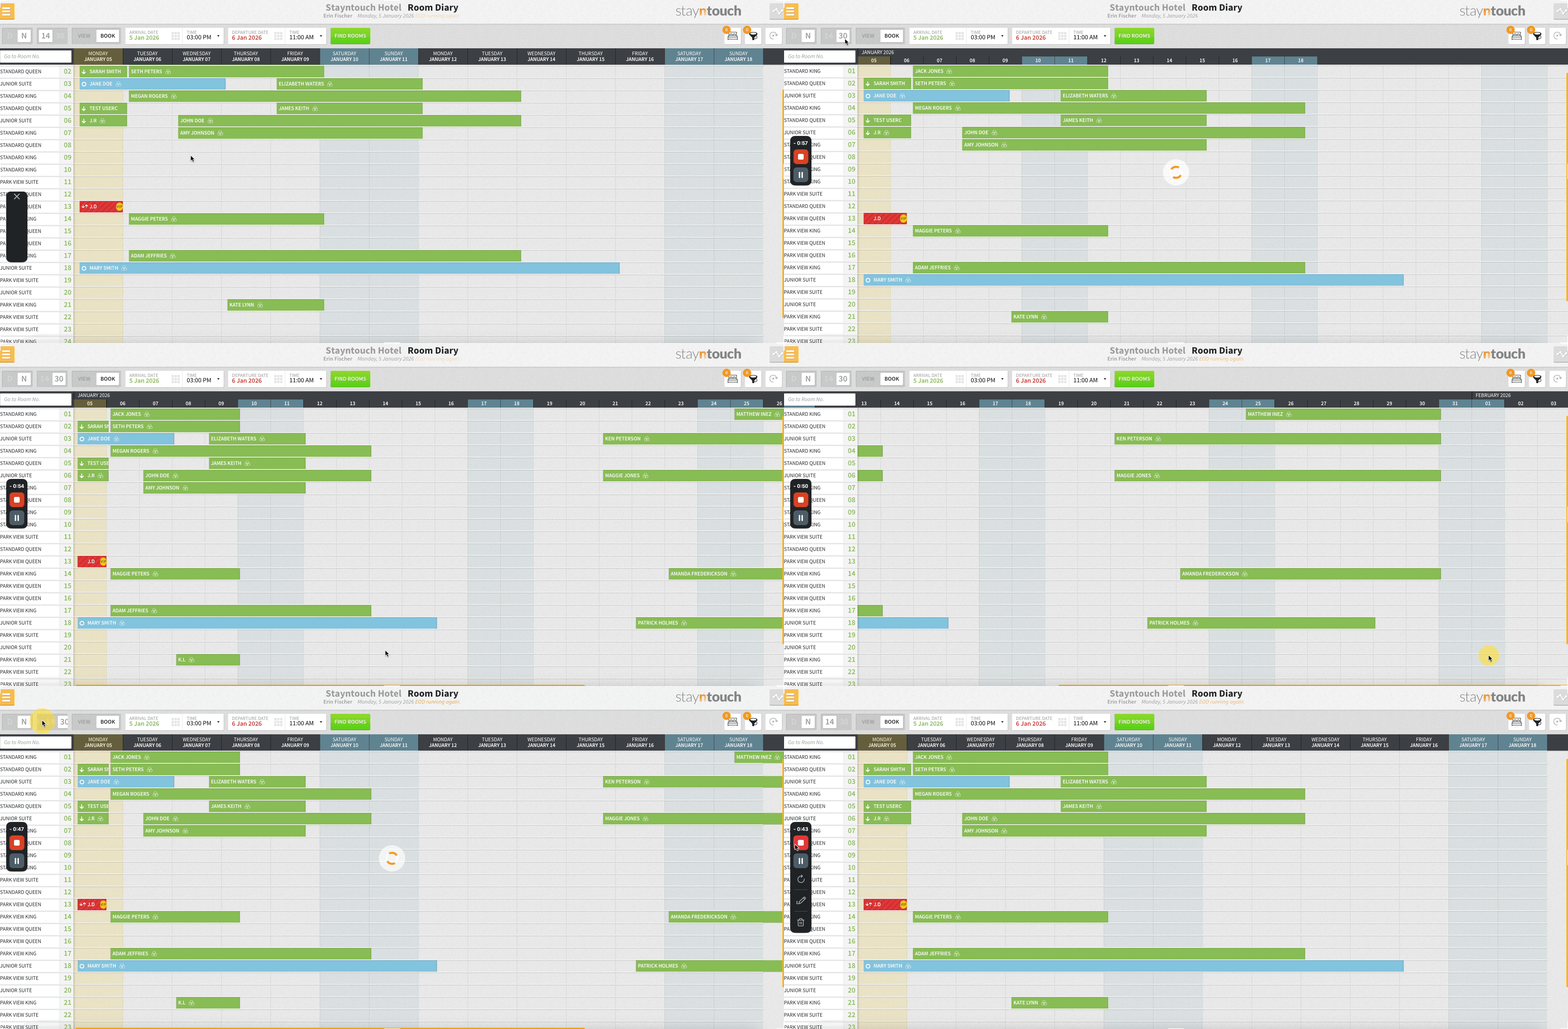
To navigate to the Room Diary, go to Front Desk > Room Diary. Once you’ve navigated to the Room Diary, the options on the top left will allow you to toggle between the Day Use (D) and Nightly (N) diaries, as well as between a 14-day view and a 30-day view. For clarification, the Day Use (D) option is primarily used by hotels that sell their rooms by the hour, and the Nightly (N) option is for hotels that sell rooms on a nightly basis. Furthermore, please note, the Room Diary scales down by monitor browser size.
NEW! The default view now shows 14 or 30 days instead of 7 or 21, with wider day columns (80px) and horizontal scrolling so you can easily see all days at a glance.

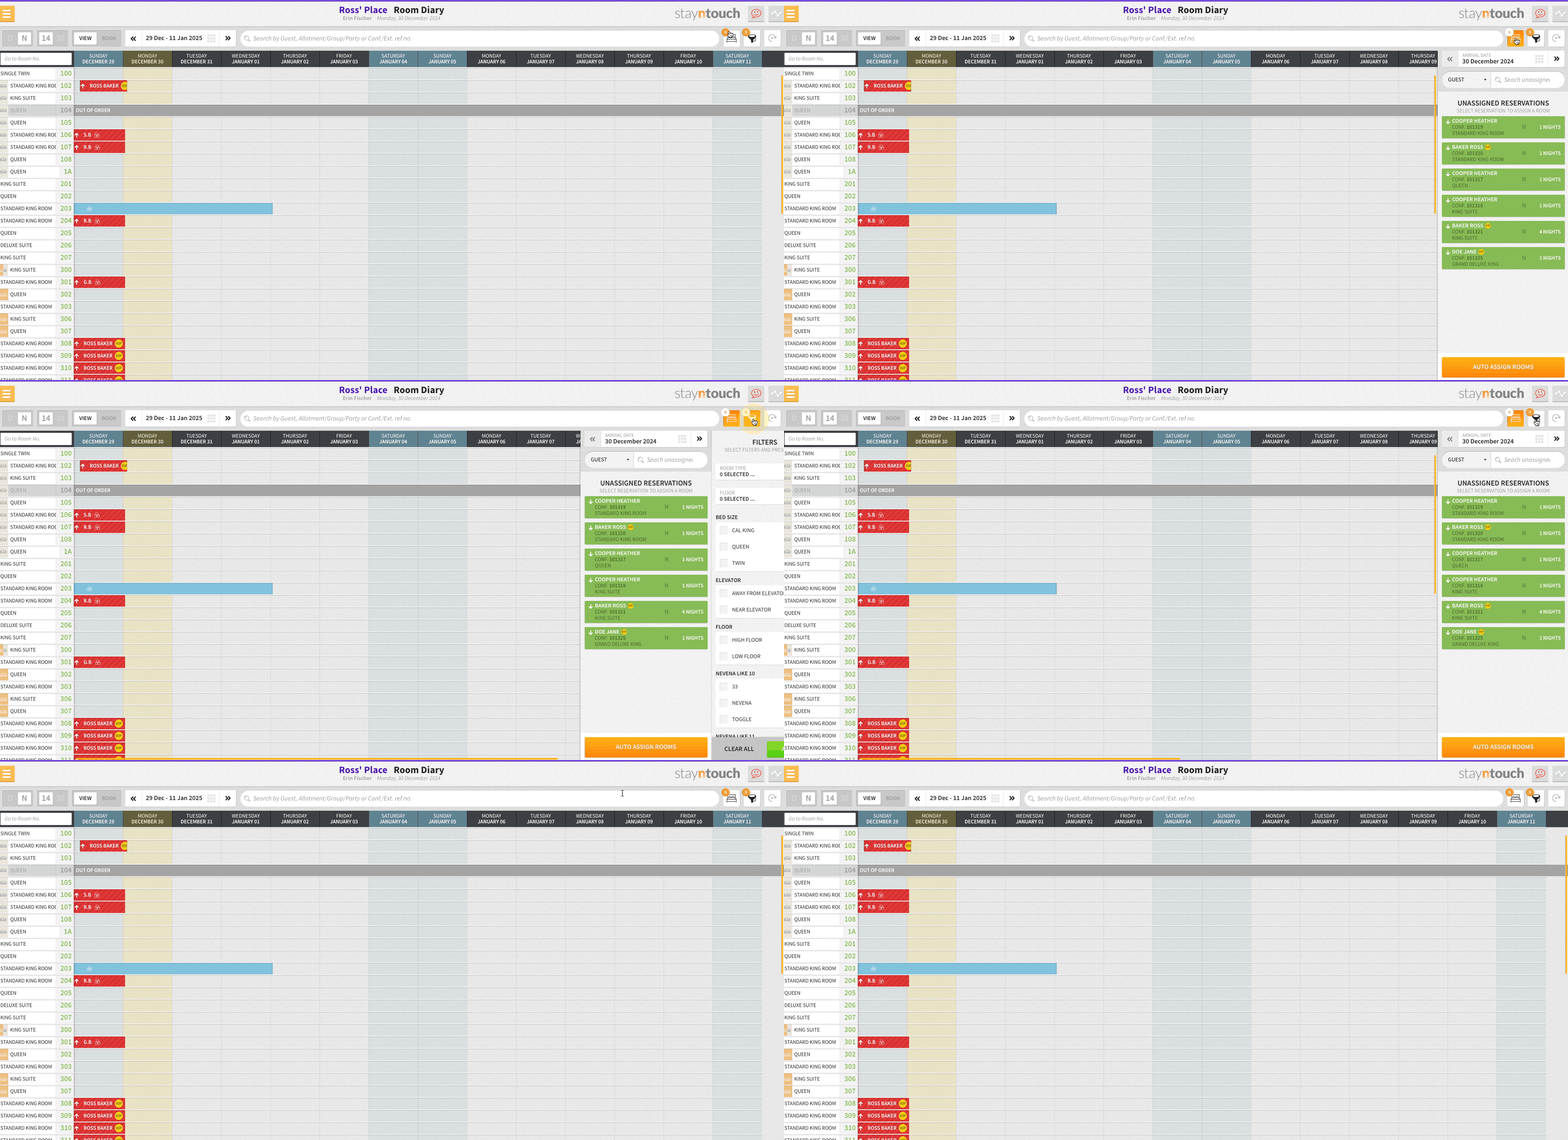
Front desk agents can toggle unassigned rooms and filters on and off with buttons next to the search bar. View them only when you need them—keeping your diary clean and focused.

You can also search for a specific room by typing the room number into the Go to Room No. search bar.

All rooms in the property will be displayed on the left hand side of the Room Diary according to housekeeping status with corresponding reservations on the right hand side that are color coded by reservation status. Green indicates a future/due in reservation, red indicates a due out reservation, and blue indicates an in-house reservation.

You can update the status of a room (dirty, clean, inspected, or pick up) or service status (Out or Order/Out of Service/Out of Inventory) by clicking on the room number and making the change on the pop up, and selecting CONFIRM STATUS.


If you toggle from VIEW to BOOK, you can book reservations directly from the Room Diary by entering an arrival and departure date/time and selecting FIND ROOMS. All available rooms for that period will display in green, and you can select a specific room and continue to book that particular room.


Please note, if there are reservations for the day that do not have a room assigned, the below popup message will appear. If you select the option CONTINUE WITH BOOK, you will be able to proceed with reservation creation.

You will then be directed to either the ROOM TYPE or RATE tab within the Rooms & Rates screen, where you can see available rates for that individual room. To select a room type or rate, simply click the BOOK button. This will take you through the reservation creation process, which is discussed in full detail in another section of this guide.

Once the reservation is booked, you can then navigate back to Front Desk > Room Diary, and you’ll see that room 01 has been blocked for Erin Fischer with an arrival date of Monday, March 22.

On the right hand side of the screen, you’ll see the FILTERS option, where you can select features, such as room types, floors, and specific room features for your property that can help you match guest preferences to specific rooms (these need to be configured in Settings > Cards > Likes and must be assigned to individual rooms from Settings > Rooms > Rooms). In this example, we can search for quiet rooms by selecting the QUIET ROOM checkbox and then APPLY.


If you toggle to the bed icon, you can view any UNASSIGNED RESERVATIONS for the selected date. Please note, any filters you set will determine the rooms you can assign to the UNASSIGNED RESERVATIONS.


You can assign individually by selecting a record, or you can bulk assign all unassigned reservations for a day by selecting the AUTO ASSIGN ROOMS button.


It’s also possible to search for a specific record for a specific guest by searching for them in the search bar at the top of the screen. If you choose that record, it will become selected, and you can extend or shorten stay dates or select options, such as MOVE ROOM or UNASSIGN ROOM, which will then give you options and filters where you can select a different room for the guest.


With the record selected, you can also select the STAY CARD button to view the guest’s stay card and make any adjustments necessary or proceed with check-in.


SUITE ROOM INDICATOR
By hovering the mouse cursor over a suite room icon on the Room Diary (iPad users should tap the suite room icon), Stayntouch PMS will then display all rooms that make up the suite room. The screenshot below shows that Room 120 is a suite room (noted by the orange suite icon). By hovering over (or tapping) the suite room icon, we can see that Room 112 and Room 199 complete the suite.

CONNECTING ROOM INDICATOR
You can mark rooms that have a connecting door to another room(s) as connecting rooms from Settings > Rooms > Rooms > + ADD NEW/Edit Existing, which will then display a visual indicator in the application. This can be helpful when assigning rooms, as you can easily assign rooms that aren’t connected first, that way connecting rooms can be assigned when required.
You can mark a room as a connecting room, which will show a connecting room indicator on the Room Diary (Nightly and Hourly) as well as the Room Assignment and Room Status screens. This allows you to identify that a room is connected to another room/other rooms.
This can be configured from Settings > Rooms > Rooms > + ADD NEW/Edit Existing. From here, we’ve added a CONNECTING ROOMS option, where one or multiple room numbers can be added as connecting to that room.


From the Room Diary (for both Nightly and Hourly reservations), you will see a connected rooms indicator, and upon clicking the indicator, you will see the room numbers that room is connected to.


The PMS will only show what is configured for each room. If room 101, for example, has connecting rooms 102 and 103 configured, the PMS will show rooms 102 and 103 when clicking on the indicator. Each room has its own configuration in regards to which rooms show as connected. If you want an indicator to be shown for rooms 102 and 103, as well, that needs to be configured in the room setup for rooms 102 and 103, respectively.
Please note, a suite room cannot have connecting rooms, as a suite room is a virtual room, so configuration of connecting rooms is not possible on rooms marked as suite rooms.
