Applies to:  Stayntouch PMS
Stayntouch PMS Installation of Zest Station Handler
This article explains how to install the Zest Station Handler on a Windows PC. The Zest Station Handler helps to supply UDID (i.e., the MAC address of the Windows PC) to the workstation as well as communicate with Sankyo Key Dispensor and MagTek credit card readers.
STEPS TO INSTALL
1. Search "Apps" from the menu and click Apps & features. Search "Zest" to locate the version of the Zest Station Handler.


2. If the current version is 1.9.1.2, that's all you need to do.
3. If the current version is below version 1.9.1.2, follow the below steps.
- Access the following link by copying and pasting into a new browser: https://drive.google.com/drive/folders/11uT1NZIrsPXnY2jxq87Ti2-FG23vscB_?usp=sharing
- Right click setup.exe and click Download.

- Select Show in folder at the bottom of the screen to open the Downloads folder.
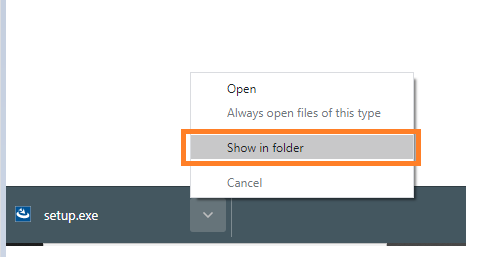
- Or navigate to the Downloads folder on your Windows PC.

- Right click on the setup file, select Run as administrator, and follow the prompts without changing the default selections.

- Enter your Windows administrator credentials.
- If you receive a warning message, click on More info.

- Click Run anyway.

- If you do not get the option to Run anyway, then right click on the file, select Unblock, and follow steps 5 to 9 again.

- Once the installation is complete, locate the yellow Zest Station Handler icon at the bottom-right corner of the Windows PC (right end of the task bar).

- Right click on the Zest Station Handler icon and select Settings.

- Confirm the server is in STARTED stage. This should appear in green.

- Open Zest Station Handler Test Client HTML file in a Chrome browser and click Connect to see the result.


- You can then verify the connection status.
